A bow drill is a tool that is engineered to help the fire lighting process. It is straightforward to put together but does take quite a bit of practice to perfect. Spending time working on the technique is encouraged for all preppers as it is possible to start a fire with this even when tinder
A bow drill is a tool that is engineered to help the fire lighting process. It is straightforward to put together but does take quite a bit of practice to perfect.
Spending time working on the technique is encouraged for all preppers as it is possible to start a fire with this even when tinder and resources in general are limited.
Due to the wet British weather, good quality tinder can be difficult to find anyway, so being able to start a fire with a limited amount is fundamental to survival. You can always buy pre-made tinder tins for storage in your bug out bag, but it’s also prudent to know all the different kinds of material you can use as tinder.
This article will look at the different woods you can use to make survival bow drills, how to make the different elements, and then how to piece it together to create a fire in a SHTF situation.
Best Types Of Wood For Survival Bow Drills
The type of wood you end up using it will depend greatly on where you are in the country.
However, the following species of tree exist across the United Kingdom, so it worth spending time being able to identify them – there are some excellent British tree idenficication books you can buy and swot up on or have it as reference – as doing so will prove to be useful for not only creating survival bow drills, but other survival essentials.
Birch – white or silver coloured bark with small green leaves that have a triangular shape.
Elder – feather shaped leaves that feel like they have hairs underneath and have serrated edges. The bark on older trees is cork like in appearance.
Field Maple – light brown bark and looks cork like as the tree begins to age. The leaves are small and dark green but change to yellow in autumn.
Hazel – a very useful tree for preppers for a range of reasons. It can be identified by the large green leaves, which are soft to touch due to hairs.
Sycamore – younger trees have bark that is park or grey in colour, which begins to crack and cause plates as the tree ages.
Willow – shiny and hairless leaves with dark brown bark, often found near rivers.
Parts Of The Bow Drill
When making survival bow drills, the process will involve creating each part in stages: the bow, the spindle, the socket and the fireboard.
Although preppers can purchase already assembled bow drill kits which can be added directly to your bug out bag, it is also worthwhile spending the time creating your own as in a survival setting it means that you have the experience and knowledge to make a new one if your original bow drill breaks or is lost.
First is the bow. This is essentially a stick that has a piece of string loosely attached at each end. Moving in a sideways motion when used, it helps to establish a rotational movement within the spindle.
Simplicity is key here, and a synthetic string is best to use initially, such as from a paracord bracelet.
Second is the socket, or sometimes referred to as the handhold, which is the part that sits on top of the spindle, which in turn helps to keep it secure and upright.
In terms of size, this should be a piece of wood that can fit comfortably in your non-dominant hand. Once acquired, carve a small hole into it using a knife.
For the socket, you can also use a stone that has a dip in it if you manage to find one, if it is big enough to hold. If you’re by the shore you can even use a limpet shell with a bit of grass in the end.
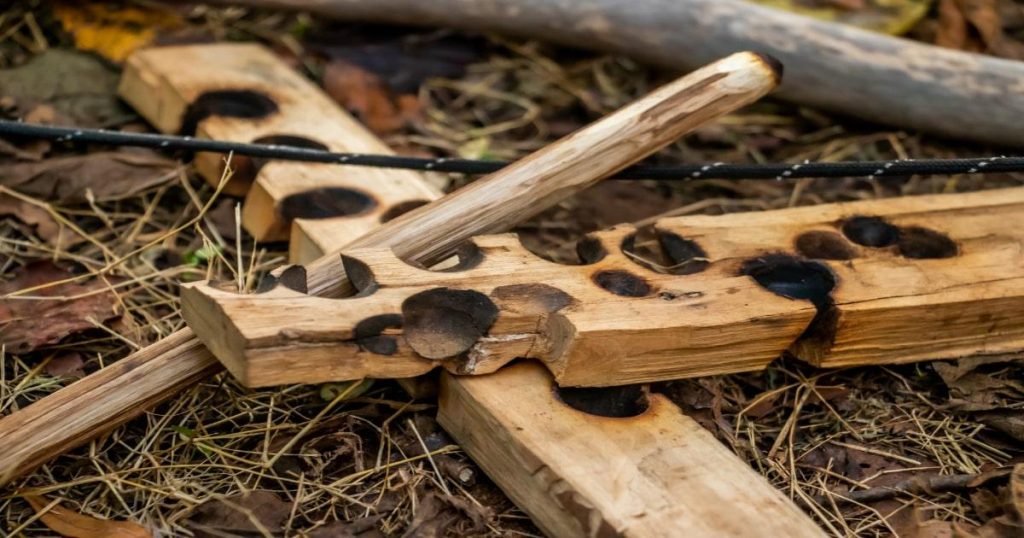
Third is the heart, or sometimes referred to as the fireboard. Like the heath in a fireplace, this is a piece of flat wood that the contains the coal and any dust from the spindle action. Take care to ensure that the wood used here is very dry, and around half an inch in thickness.
The length of this is not important, but the width should be wide enough for at least two spindles to lie across. This will help ensure you have suitably sized piece of wood for the drilling process. Once you have the piece of wood ready, using your pocket knife make a shallow hole close the edge.
Finally, is the spindle itself. This is the round and long piece of wood that is spun around using the bow. When this happens, the friction caused by the movement is what helps to start a fire. Make one end rounded and blunt to create the fire, but the top end should be slightly pointed to reduce friction.
Aim for a length of wood around 10 inches long, and 3 quarters of an inch in diameter. Both ends of the wood should be tapered, with one more pointed and the other more rounded.
Making The Survival Bow Drill Work
https://www.youtube.com/watch?v=3ReHEjy0_CM&ab_channel=Haven
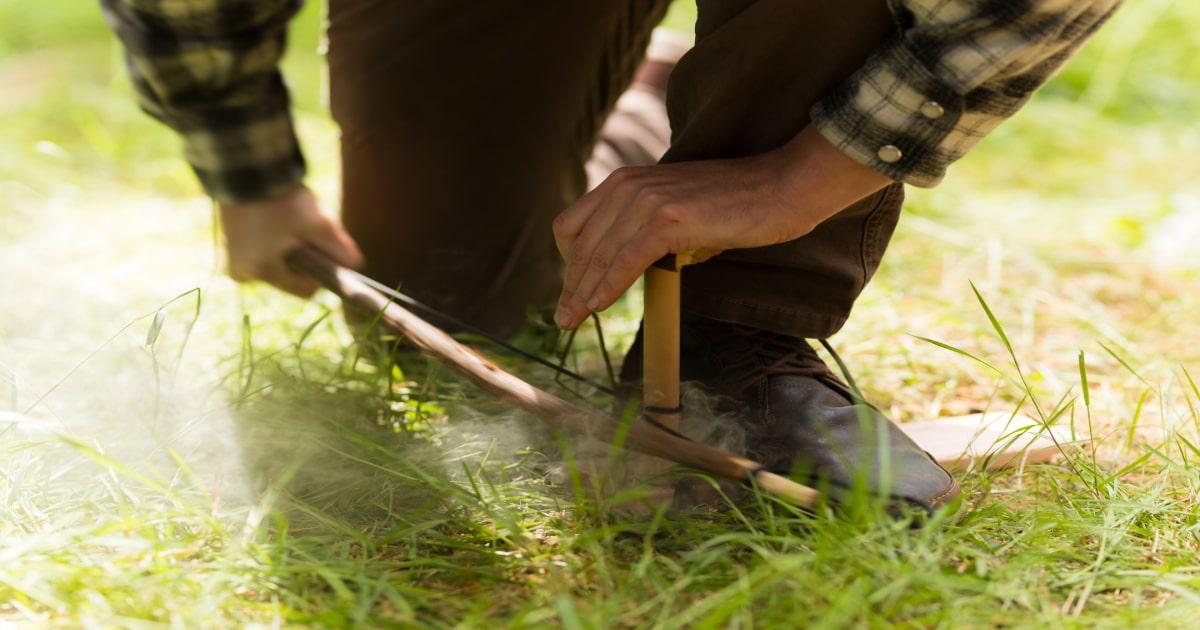
Now that we know the names of the pieces of the bow drill and how to prepare them, it is time to put them altogether. Good posture is fundamental here as it helps you to get the right action when using the tools.
It also helps to prevent fatigue as well, as the process can be quite lengthy and so you want to ensure that you do not tire yourself out too much, especially in a survival setting when you have to remain alert at all times.
With the hearth on the ground and your foot on top to prevent it from moving, you can then place and hold the socket against your shin to limit movement. Ensure the socket is rubbed with some wet grass inside or a little grease.
From here, the socket is twisted into the string attached to the bow. Now, leaning on your foot that is holding down the heath, you can begin to move the bow forwards and backwards.
This will cause the spindle to rotate and eventually, result in the wood there burning and leaving a black charcoal type mark.
Before continuing, stop and cut a triangle shape into this blackened circle with your knife. Place back on the heath and continue to bow, putting in as much power as possible. Try to keep a good rhythm as this will help smoke begin to appear.
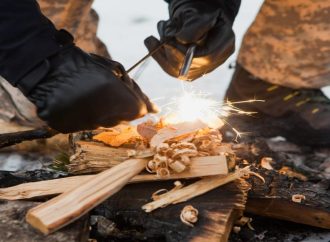
When you see the smoke, keep going, making sure you push down to cause friction. After a while, you will create an ember, which can be placed on nearby tinder to help start a fire.
It would be worthwhile collecting the timber beforehand or assigning the role to another prepper in your group. Gently blow on the ember inside the tinder and it should catch fire.
Summary
In short, survival bow drills are an asset to any prepper. They can help generate embers which can be used to start a fire with limited resources. They can also be used in the British climates, making them an essential tool for UK preppers, and one worth mastering.