Having a supply of plasters in your first aid kit can be helpful for annoying cuts and grazes, but there are times when someone in your party may incur a more serious injury. Bugging out can involve traversing some difficult terrain, and there is always the risk of getting hurt. A first aid supply kit
Having a supply of plasters in your first aid kit can be helpful for annoying cuts and grazes, but there are times when someone in your party may incur a more serious injury. Bugging out can involve traversing some difficult terrain, and there is always the risk of getting hurt.
A first aid supply kit is invaluable, and you’ll need something for different types of injuries. When it comes to broken bones, a knowing how to make a splint for broken bones is essential.
But splints shouldn’t be used in all circumstances, and sometimes you might just need a brace. If used inappropriately you could make the injury worse. In this article we look more closely at how preppers can use splints in a survival situation.
What Does a Splint Do?
A splint or immobiliser can be used for lots of different types of injuries and on the different parts of the body, but most commonly limbs.
Its main purpose it to prevent a body part from moving about and causing further injury. This can be useful for broken bones, or for severe sprains or muscular strains. Immobilising the area enables the injured area to heal and knit back together in the right position.
Splints can also be used for dislocated limbs, especially if you’re not able to move them back into place immediately.
By stopping unwanted movement, a splint can also help to minimise pain as well as preventing further trauma from occurring.
When Would You Need a Splint?
Whether you’re bugging out or bugging in, being able to make a splint for broken bones is an essential first aid skill that will be useful for every prepper.
If you can’t immediately access proper medical care, splinting an injury could prevent infection or ongoing orthopaedic pain in the future.
Broken bones need to be splinted so they set in the right position and don’t cause pain and restricted movement in the future. Splinting will also reduce the pain being experienced at the time of the injury.
It’s not absolutely essential to splint sprains and muscular twists, but it can be very helpful to do so. Holding the limb still can encourage speedy healing and also reduce discomfort and pain. There are less likely to be long term complications from a muscle sprain than a broken bone.
How to Deal With an Emergency That Requires a Splint
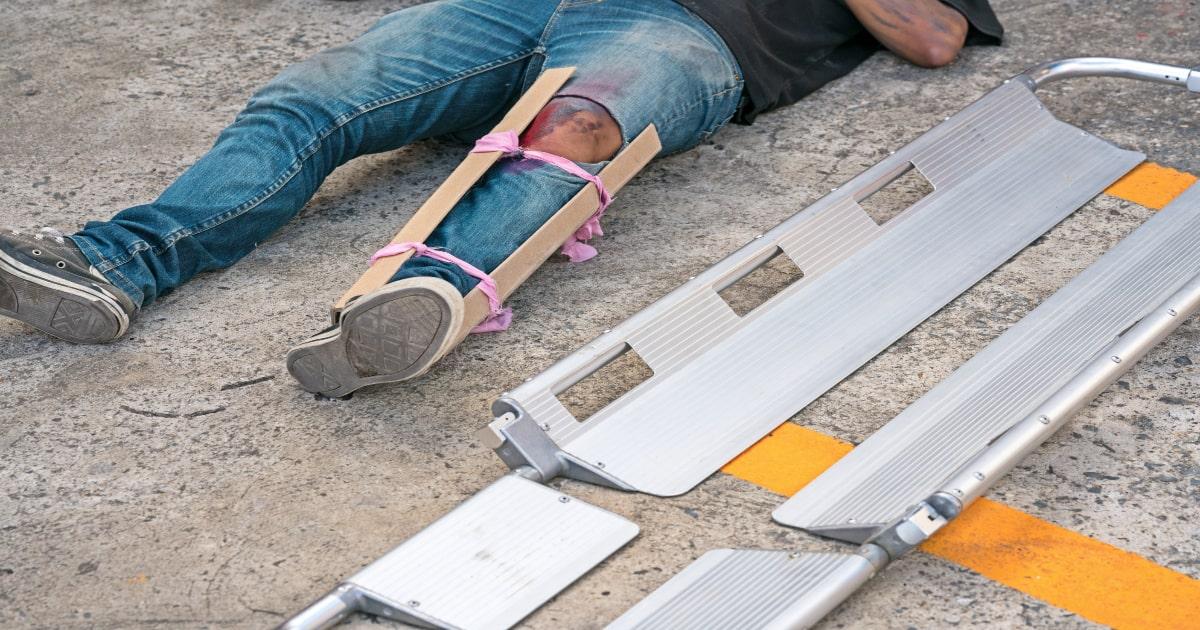
Unless the patient is lying in a dangerous position, you should make a splint for broken bones before you attempt to move them.
When the patient is in a safe position, follow the process below to check them and apply a splint:
1. Check and deal with any bleeding
Any area which is bleeding should be dealt with first. Compressing the wound and cleaning it with cooled, boiled water is often sufficient. Care should be taken about compressing the wound if it’s close to a broken bone.
2. Put padding around the injured area
Use whatever you have available, such as clothing, to pad the injured area. This will prevent discomfort from the splint and will also help to insulate the limb from the cold.
3. Apply the splint
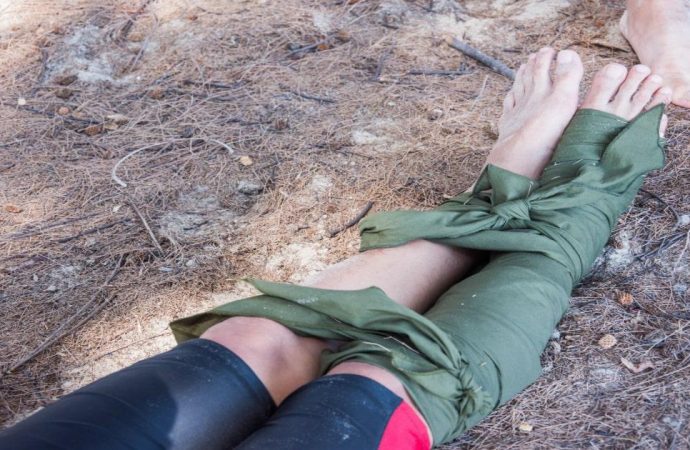
The splint should be applied so that it rests on the joint above the injured area, and the joint below. For example, a shin injury should be splinted knee to ankle, a mid-arm fracture needs to be splinted from wrist to elbow.
4. Secure the splint
Use ties to secure the splint to the patient’s body, but make sure you’re not tying the area directly above the injury. Ideally the splint should be tied above and below the injured part.
The splint should be secure enough not to move around but not so tight that it cuts off the blood supply to the patient’s extremities. It’s a good idea to use bows rather than a knot to attach the splint so you can adjust it as necessary.
5. Check the circulation
When an injury occurs, the body part may swell up but it may take some time for the swelling to become apparent. This means that even if the splint was correctly applied at the start, it can quickly become too tight.
You should regularly check the splint to make sure that it’s not cutting off the blood supply. Feel the hands or feet of the patient; if they are cold to the touch or look blueish, that’s a sign that the splint is dangerously tight.
How to Make a Splint
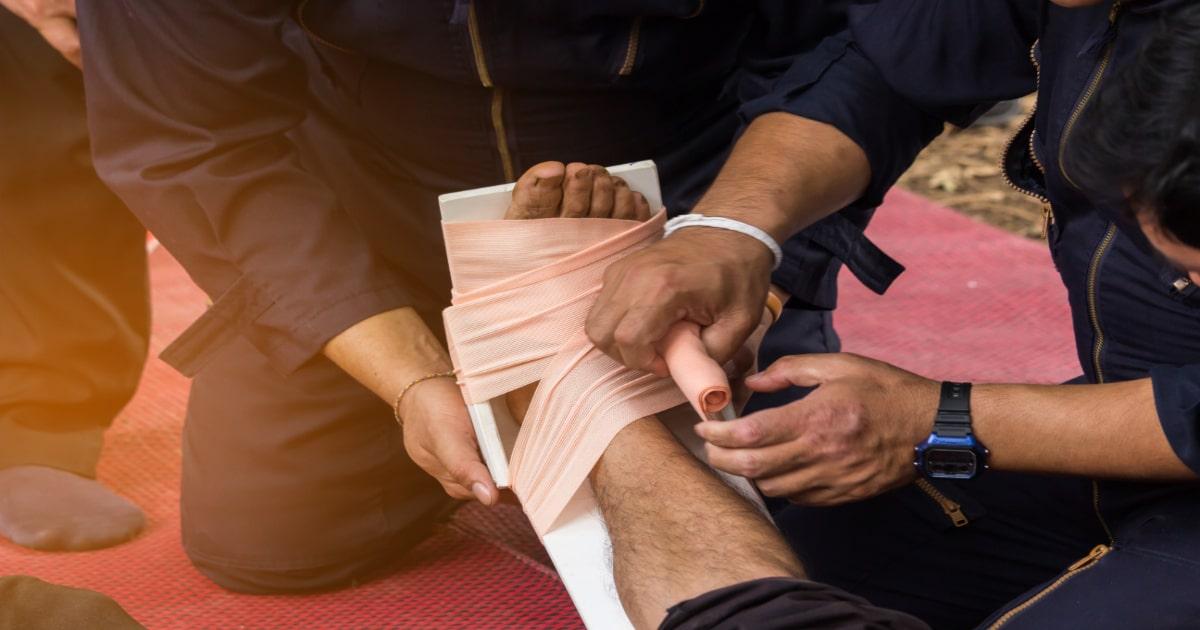
If you’re wise, your prepper bag will have a first aid kit that contains material for a splint. There are a number of lightweight splints that can be carried around without weighing you down.
Remember that there are all sorts of different splints and braces for different parts of the body, for example: wrist braces, ankle braces, knee braces, elbow braces, thumb splints, shin splints and finger splints.
You don’t need to buy all of them for your first aid kit even though they are affordable and will serve you well, but having a wrist brace and knee brace to hand will really help if there should be an issue with these body parts, from using your axe or kneeling too much.
However, if you don’t have a ready-made splint available, all is not lost. Wherever you are in the UK, you shouldn’t have a problem finding what you need to make a decent splint. There are plenty of supplies in the British countryside and homes that can be utilised for a splint.
Every splint should be:
- Sufficiently rigid
- Insulating to keep the cold out
- Padded to immobilise the area
- Able to provide access to the hands or feet (to check circulation)
- Lightweight enough for the patient to move around
Although there are lots of potential splint materials like pieces of wood, flat pieces of metal and even branches, you might have some of the things you already need in your prepper bag.
Some of the items you might be able to utilise include:
- Clothing – a puffy jacket, socks, scarves or base layers can all work as padding
- Trekking poles or rolled-up magazines – perfect for immobilising a limb
- Blow-up mattresses – deflate the mattess slightly to provide more movement and this can stabilise, immobilise and pad the injured area
- Ground sheets or tarps – fold multiple timesand wrap to use as a large rigid splint
- Nylon cord or rope – tie the splint onto the injured area. Other items you could use include bandanas or shoe laces
If you don’t have what you need in your backpack, you can forage around to look for items in the wilderness that you can use.
England, Wales, Scotland and Northern Ireland all have various plants and trees that are suitable for use, either for immobilising the limb or for tying up the splint. If you’re in need of padding, a big leaf rolled up and stuffed with grass or other leaves can be soft enough to suffice, but as a splint needs to be left on for many days, it’s best to get the most appropriate material right from the start.
Top Tips For Splinting
Before you make a splint for broken bones whether it’s on the leg or arm, it’s a good idea to do a practice run first on the uninjured side of the body. If you’re not familiar with applying splints, you probably won’t get it right first time and this could hurt the patient further.
Arm injuries which have been splinted should be placed in a sling to help immobilise the limb. You can easily create a makeshift sling with items of clothing.
If you can’t get to medical care, and the limb is lying in an unnatural position, you should gently attempt to manoeuvre the limb before splinting. Gently pull the limb until it is straight and then splint into position.
Large bones such as the femur in the thigh may need a traction splint to stay in position. You can improvise a traction splint by using a long, large, strong pole such as a canoe paddle or a thick branch.
Summary
Although the idea of making a splint for broken bones may seem daunting, when you break it down into the various stages, it’s not as difficult as it might first seem. It’s a good idea to practice in advance rather than wait until you’re in an emergency situation to try it for the first time.
A good prepper’s first aid kit should contain basic splint material, or a multipurpose compression aid at the very least, as they’re lightweight and won’t take up much room but can be a lifesaver if ever there is a broken bone. However, as the above guide demonstrates, it’s entirely possible to create a good splint even if you don’t have a formal splint in your backpack.

